Valley Cap
- Manufacturer
- Marco Industries
- Product
- Valley Cap
- Status
- Current
- Market
- United States
- Last verified
- October 15, 2026
What the Valley Cap is and where it is used
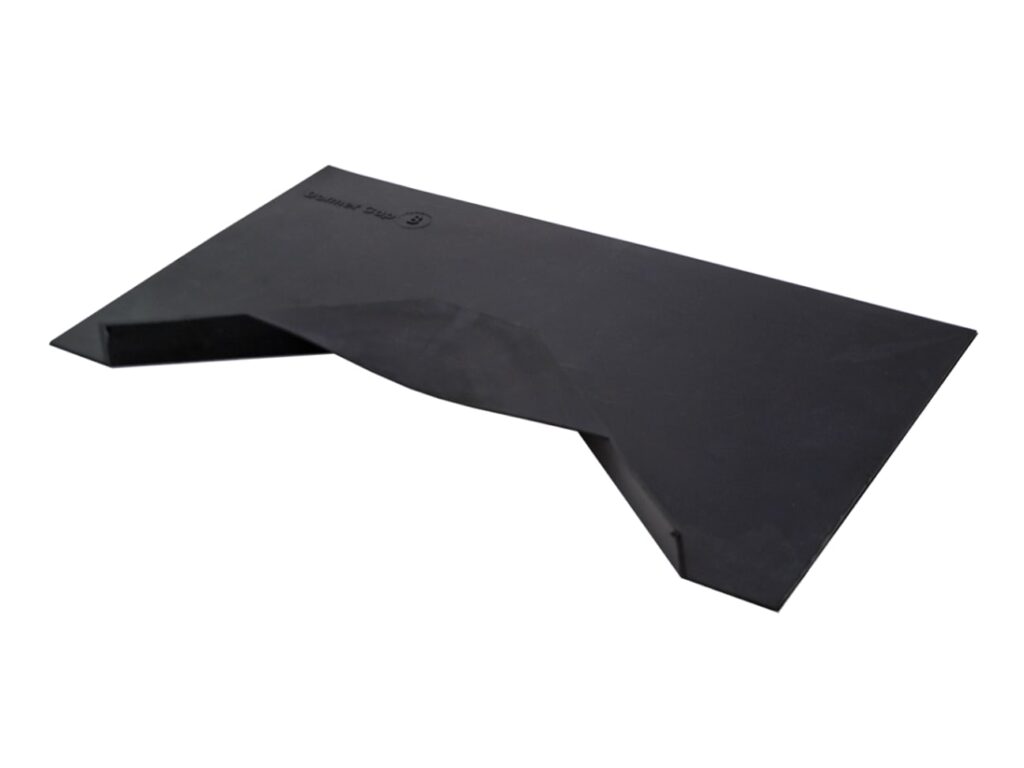
The Valley Cap is a flashing made by Marco Industries for the point where a primary roof and a secondary roof intersect with valleys. It is part of the Valley Cap Flashing Application System and is designed to prevent leaks at that intersection. It is used on metal roof replacement with exposed-fastener panels and on standing seam snap-lock panel roofs.
The cap is a one-piece EPDM part. One-piece construction allows easy on-site installation. The part is made in North America.
The cap also solves a ridge problem. It eliminates bulge and maintains a straight ridge line where a secondary ridge line meets the primary roof. Each piece comes with 30 roofing nails, 3" long, attached for installation. A 20-year warranty is printed on the product literature.
The cap sits on top of the W Valley trim. Water is channeled away from the valley and does not get beneath the roof substrate. The sections below give the versions, sizes, materials, installation steps and the use of each version.
Versions and sizes
The Valley Cap is available in two sizes. The base is designed to fit most roof pitches and valley conditions. Both versions share the same depth, height and base dimensions. Only the opening differs.
- Valley Cap A (D-Cap A): opening 12-1/4" (311mm). Used for pitch 7/12 or more.
- Valley Cap B (D-Cap B): opening 16-1/2" (419mm). Used for pitch 6/12 or less.
Dimensions common to both versions:
- Inner depth: 3" (76mm)
- Overall height: 1-1/4" (31mm)
- Base: 11-3/4" x 20-1/8" x 11-3/4" (298x511x298mm)
The opening is also called the throat. The smaller cap has a 12 1/4" throat and the larger cap has a 16 1/2" throat.
Data sheets and technical documents
Current files
Archived files
No older reviewed revisions are archived for this product yet.
Choosing between the two sizes
Size is set by a field measurement taken at the valley. The measurement starts at the ridge line of the secondary ridge.
- Start at the ridge line of the secondary ridge and measure out 4".
- From the center of the valley, measure straight across, 4" out.
- If that measurement is 12 1/4" or less, use the 12 1/4" throat.
- If that measurement is more than 12 1/4", use the larger Valley Cap with the 16 1/2" throat.
The catalog pairs the sizes with roof pitch. Valley Cap A, with the 12-1/4" opening, is for pitch 7/12 or more. Valley Cap B, with the 16-1/2" opening, is for pitch 6/12 or less. The 12 1/4" figure is therefore the dividing line in the measurement, and the pitch is the other reference for each size.
Material and weather resistance
The Valley Cap is made of EPDM rubber. The compound is formulated for maximum resistance to weathering from ozone and ultraviolet light. UV inhibitors are included in the material.
Tested values for the EPDM:
- Advanced ozone resistance: EPDM, 70 hours at 500 pphm
- High temperature resistance, intermittent: +135C (+275F)
- High temperature resistance, continuous: +100C (+212F)
- Low temperature resistance: -55C (-67F)
- Compression set, maximum: 25%
The low temperature value of -55C (-67F) applies to the same material. The maximum compression set is 25%.
Installation on exposed-fastener panels
The AG installation prepares the W Valley trim first and then places the cap over it. The steps run in this order.
- Prepare the W Valley trim. Make mirror images of each W Valley panel, notching 1" from the outside across the center valley peak, leaving a 1" offset.
- Take about 9"-10" of the reverse hook, which catches water if it splashes back up under the other side. The points of the center valley peak are critical for alignment. When these are overlapped, the two points line up in the center of the ridge of the secondary ridge line.
- Lay the Valley Cap right over the top, securing it with roof sealant and fasteners. Once in place, water is channeled away from the valley and does not get beneath the roof substrate.
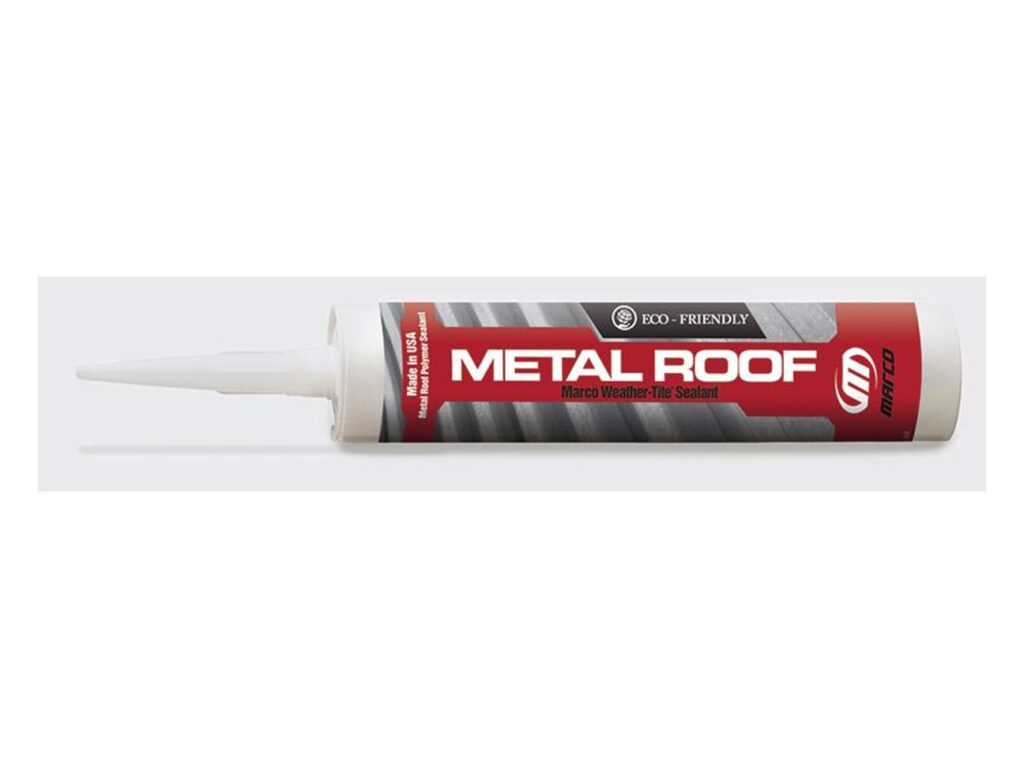
The reverse hook is the part that deals with splash-back. Its 9"-10" length catches water that splashes up under the other side of the valley. Marco Metal Roof Sealant and Fasteners secure the cap in this installation.
Installation on standing seam panels
On a standing seam snap-lock panel roof, the difference from an AG panel roof is the clips that must be installed on the W Valley. A Valley Cap changes how those clips are used.
- When using a Valley Cap, use a separate clip. The cleat cannot be placed over the top of the Valley Cap, but this clip can run over the top of the Valley Cap.
- When the panel comes in, it hooks over the metal clips and forms a complete water shed, from panel, to Valley Cap, into the W Valley.
The water path is continuous. Water leaves the panel, crosses the Valley Cap and enters the W Valley.
Use at secondary ridge lines
A secondary ridge line can make a Ridge Cap difficult to install, because the secondary roof obstructs the primary roof's ridge cap. A common construction method is to divide the Ridge Cap, fan it out and press it under the roof panels. That method can produce a big bubble beneath the panels, above the Ridge Cap. The bubble shows as a large bulge in the ridge. A Valley Cap remedies the issue.
Secondary ridge line installation runs in this order.
- Place the Valley Cap atop and between both valleys of the roof.
- Notch the Ridge Cap to accommodate the Valley Cap.
- Make the primary ridge line straight.
- Place the Secondary Ridge Cap over the Valley Cap.
On the front side the roof has two valleys and a 100% water shed joint. On the back of the structure, the Valley Cap is pulled over the back of the panels so that rain runs off the panels. The primary ridge line is then straight and the secondary ridge cap covers the Valley Cap.