Pipe Flashing
- Manufacturer
- Gibraltar Building Products
- Product
- Pipe Flashing
- Status
- Current
- Market
- United States
- Latest revision
- 06/2026
- Last verified
- October 15, 2026
What the pipe flashing is and where it is used
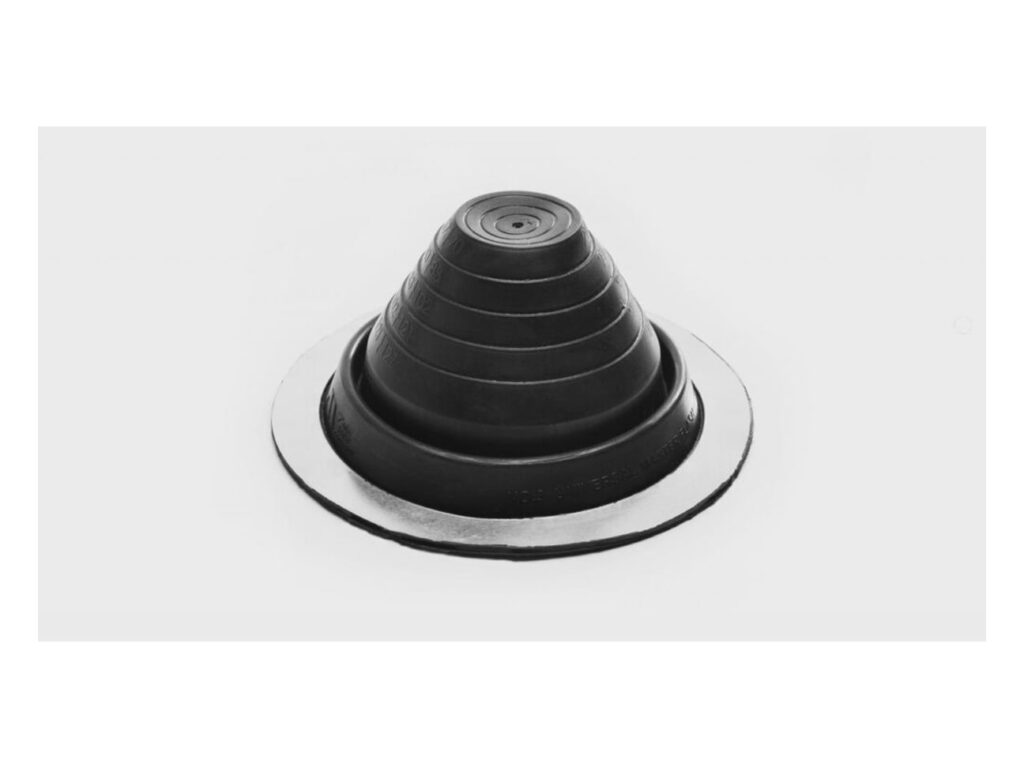
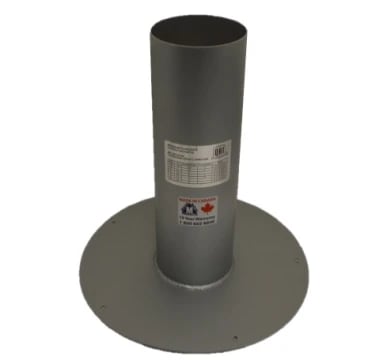
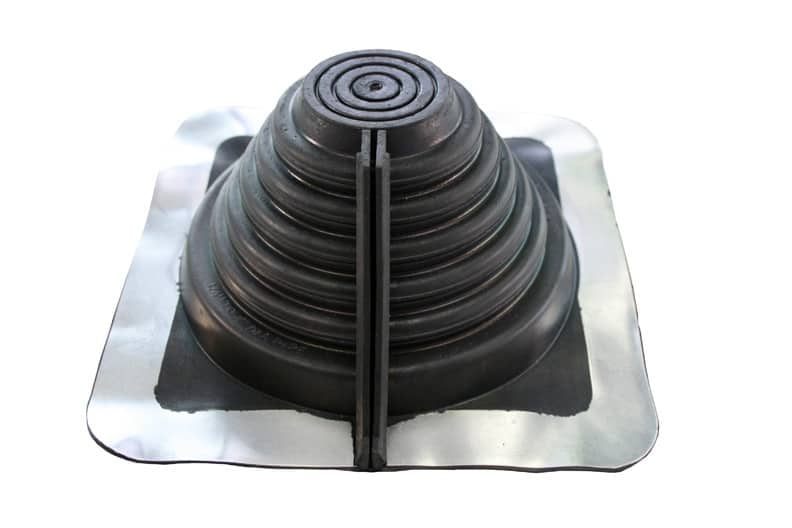
Gibraltar Building Products makes the Pipe Flashing for vent pipes that pass through a shingled roof slope. It combines a metal base with a black rubber boot that closes around the pipe. The base seats on the roof surface and the boot seals the pipe where it leaves the roof.
The flashing suits pipe penetrations on shingle roofs and on the metal roofs that are restored and repaired by sealing penetrations, replacing fasteners and renewing pipe flashings. It is rated to withstand 190 degrees continuous heat and is approved for Type B installations. That rating makes it a fit for Type B vents as well as plain vent pipes.
The flashing works on roof pitches from 1/12 to 12/12. This covers nearly flat slopes and steep slopes with one product.
Versions and pipe sizes
One flashing covers several pipe diameters. The black rubber boot carries marked cutting lines, so the installer sizes the opening on the roof instead of choosing between separate parts.
- 2 inch pipe: cut the boot along the marked area for 2 inch pipe.
- 3 inch pipe: cut the boot along the marked area for 3 inch pipe.
- 4 inch pipe: cut the boot along the marked area for 4 inch pipe.
- 1-1/4 inch pipe: no cutting of the boot is necessary.
- 1-1/2 inch pipe: no cutting of the boot is necessary.
The installation steps cover pipes from 1-1/4 inch to 4 inch, including Type B vents. Pipes of 3 inch and 4 inch have special notes, which are covered under their own heading below.
A repair collar is made for pipe flashings that are already in place. It follows the same size selection as the flashing itself: cut along the marked areas for 2 inch, 3 inch or 4 inch pipe, and leave the boot uncut for 1-1/4 inch and 1-1/2 inch pipe.
Data sheets and technical documents
Current files
Archived files
No older reviewed revisions are archived for this product yet.
Materials
The flashing has a base and a boot. The base is made of galvanized metal or aluminum, so both the galvanized and the aluminum pipe flashings have sharp metal edges. The boot is black rubber. The plastic base and the soft plastic boot are separate parts with their own care rules.
Painting is handled differently for each part.
- Metal bases that need field painting require surface preparation as defined by the paint manufacturer. This includes cleaning and priming the bare metal before painting, so that the paint adheres.
- The soft plastic boot is not painted.
- Petroleum based products, sealing compounds and paint are not used on the plastic base.
These rules keep the boot flexible and the base free of coatings that do not bond to plastic.
Tools and supplies
Installation needs three items.
- A utility knife, used to cut the rubber boot along the marked area for the pipe diameter.
- Roofing sealant, applied to the underside of the flashing as described in the steps.
- Seven galvanized roofing nails, which secure the base to the roof.
Work gloves are required when the flashing is handled or installed. They carry an ANSI A5 or EN 388:2016E cut resistance rating or greater. The rating is needed because the galvanized and aluminum pipe flashings contain sharp metal edges.
How the flashing is installed
The five steps run from site preparation to the last course of shingles.
- Select the flashing size for each vent pipe by cutting along the indicated areas marked on the black rubber boot, for 2 inch, 3 inch or 4 inch pipe. For 1-1/4 inch and 1-1/2 inch pipe, no cutting of the boot is necessary. Clear the roof area of debris before installation. For new construction, the waterproof layer must already be installed.
- Install the shingle rows starting from the bottom and going upwards.
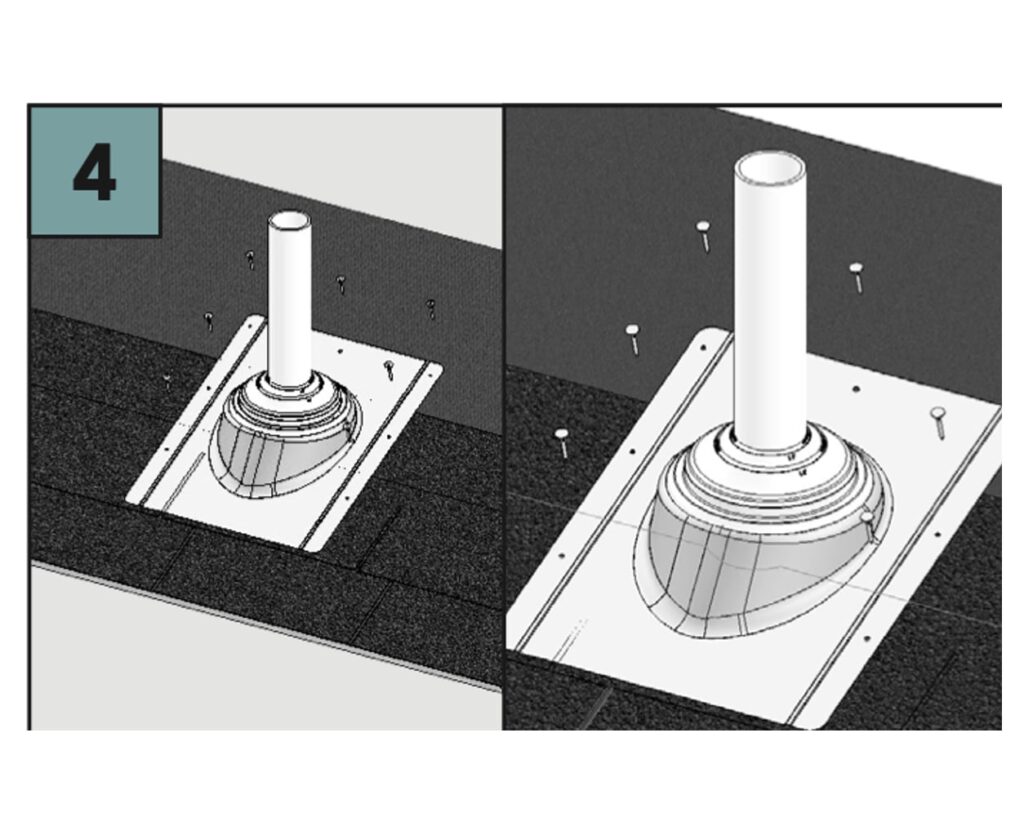
- Push the flashing down over the vent pipe so that the base seats on top of the waterproof layer and shingles. When roofing sealant is used on the underside of the flashing, apply it only on the top and sides. Leave the underside bottom portion free of sealant, so that any water under the flashing has a flow path downwards.
- Secure the flashing with roofing nails in the locations shown on the base. The next row of shingles must cover the nails.
- Install the successive courses of shingles with a cut out on the portion of the shingle that covers the top of the pipe boot flashing.
The lower portion of the flashing base is not covered by shingles.
Water flow, nails and shingle courses
The order of the steps sets up the water path. Shingle rows go on from the bottom upward, and the base sits on top of the waterproof layer and the shingles that are already laid. Water that runs down the slope therefore moves over the flashing and not under it.
Sealant has a defined position. It goes on the top and sides of the underside. The bottom portion stays clear, which leaves a flow path downwards for any water that gets under the flashing.
The nails sit at the locations shown on the base, and the next shingle row covers them. The cut out in the shingle course above lets the shingle lie over the top of the pipe boot. The lower part of the base stays exposed.
Tips for 3 inch and 4 inch pipe
The larger boot openings are tighter on the pipe. Three steps make the boot easier to fit over 3 inch and 4 inch pipe.
- Stretch the cutout hole a few times.
- Position the hands over the boot.
- Push down on one portion of the boot until the edge of the pipe is visible. Then go around in a circular method until the edge of the pipe is fully visible.
Repair collar installation
The repair collar fits over a pipe flashing that is already installed. Installation takes two steps.
- Select the collar size for each vent pipe by cutting along the indicated areas marked on the black rubber boot, for 2 inch, 3 inch or 4 inch pipe. For 1-1/4 inch and 1-1/2 inch pipe, no cutting of the boot is necessary.
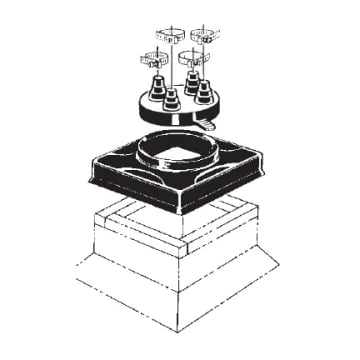
- Push the repair collar down over the vent pipe so that the base seats on top of the pipe flashing. Secure the collar with four roofing nails, using the nail towers as guides.
The nail towers mark where each of the four nails goes.