Standing Seam Vent
- Manufacturer
- Marco Industries
- Product
- Standing Seam Vent
- Status
- Current
- Market
- United States
- Last verified
- October 15, 2026
What the Standing Seam Vent is
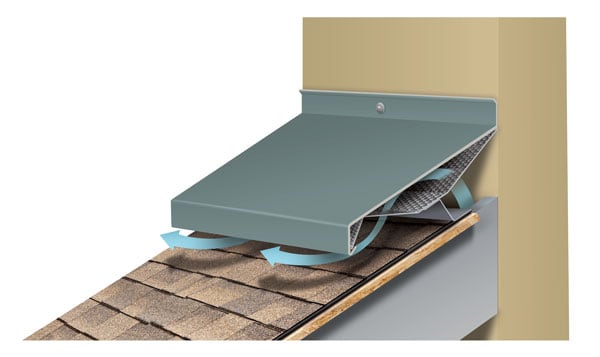
The Standing Seam Vent, called the SSV, is a ridge ventilation strip from Marco Industries. Marco Industries sells it under the line name Roofing Ventilation & Accessories. It is built for standing seam metal roofing, where the panel ribs leave a gap at the ridge that the vent fills.
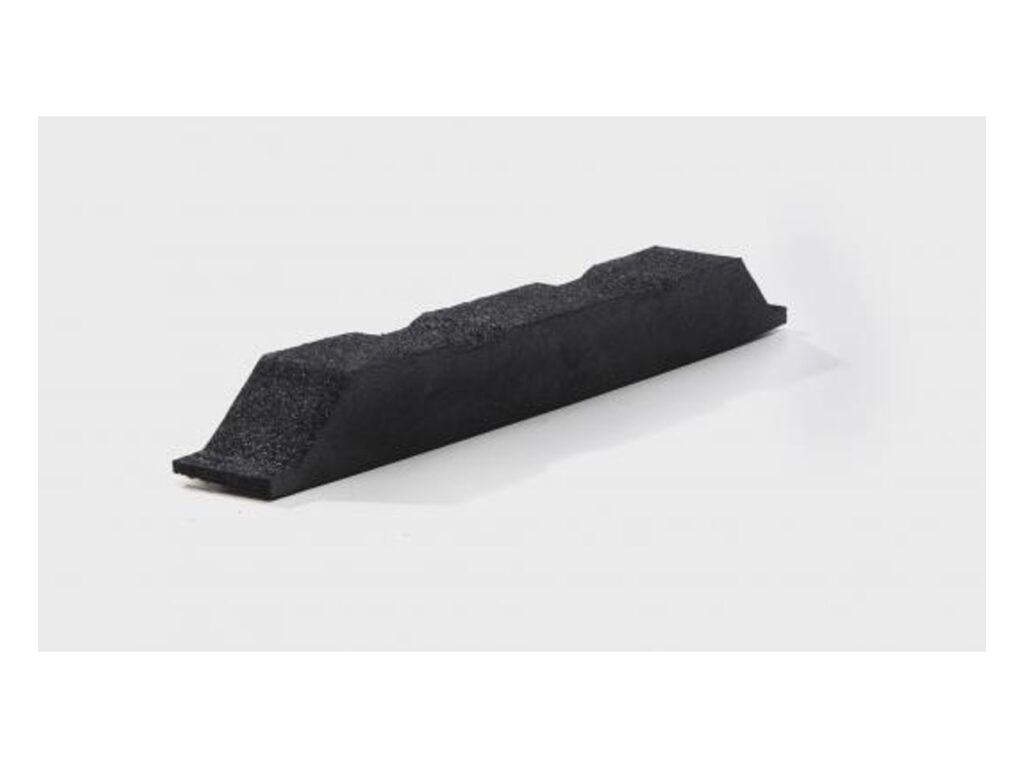
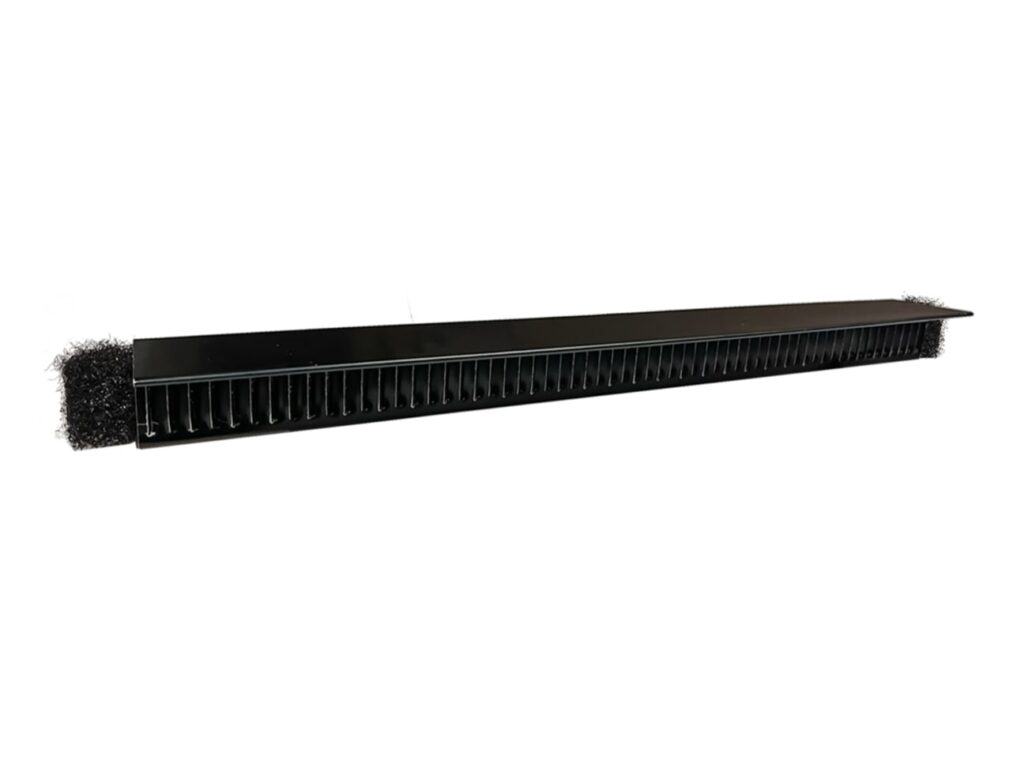
The SSV is a pre-cut vent strip made for a variety of different metal panels. It comes in several sizes so that it fits different metal panels. Each strip is a black ribbed body with a strip of non-woven material at the end.
The vent is tested and proven to deliver 18 square inches of Net Free Area per linear foot. Net Free Area is the open area that lets air move through the vent along each foot of ridge.
The SSV keeps moisture, insects and critters out. Marco Industries sums up the purpose of the product in three phrases: prevent leaks, protect property and assure ventilation. The product is made in North America.
Versions and sizes
The SSV is sold in four heights. Each height is a separate size of the same vent.
- 1 inch height
- 1.5 inch height
- 1.75 inch height
- 2 inch height
Length is custom cut. The vent is supplied in pre-cut lengths, and a length can be cut to suit the run of ridge on the job. Several sizes exist so that the strip fits different metal panels, and the height is the size that changes from one version to the next.
All four heights share the same published Net Free Area of 18 square inches per linear foot. All four heights also share the same pass result on the same test, TAS-100(A). The four versions use the same installation steps, listed further down this page.
Data sheets and technical documents
Current files
Archived files
No older reviewed revisions are archived for this product yet.
Materials and construction
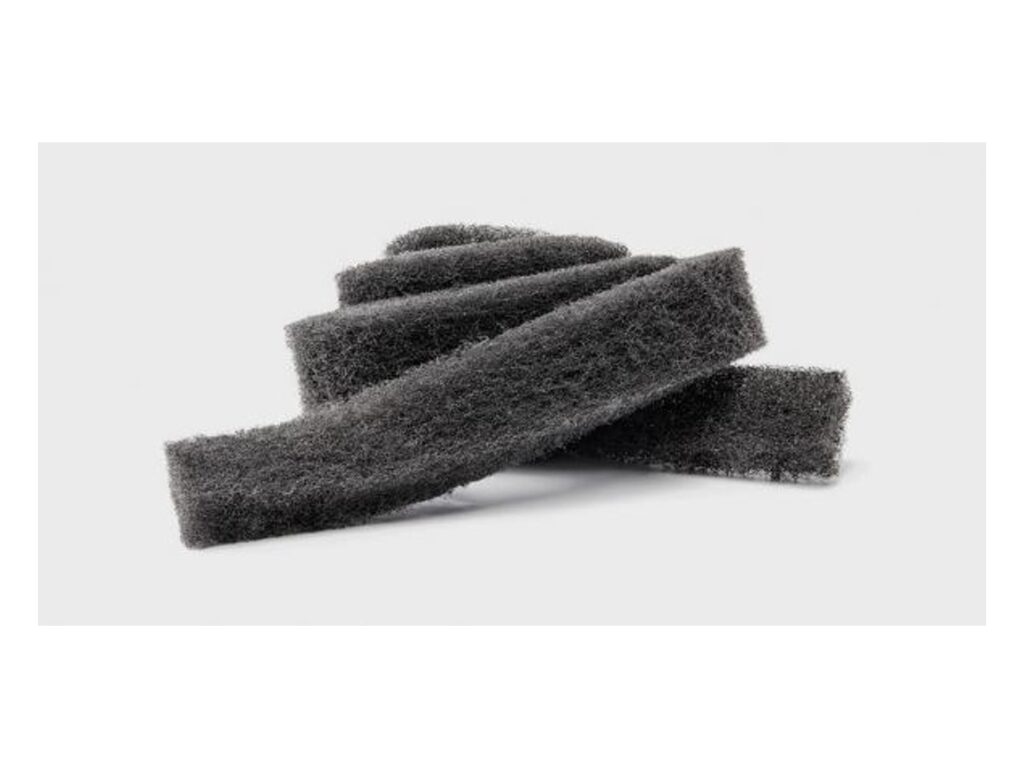
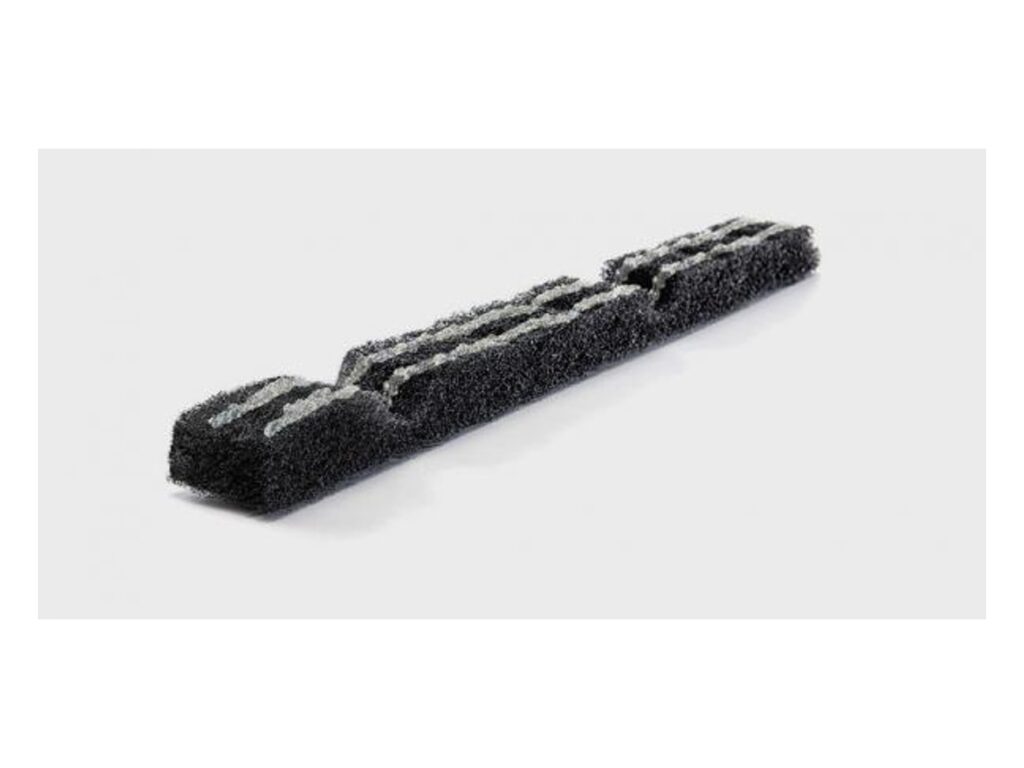
Each SSV includes a strip of Marco's proprietary Weather-Tite non-woven material.The Weather-Tite strip protects the vent against the elements. The strip is added to each vent, and it sits at the ends of the ribbed black body.
The non-woven fabric is exclusive to Marco Industries. The fabric does not deteriorate over time. It does not break down over time, and it is built to last.
Butyl tape is pre-applied to the bottom of the vent. Fastener holes are pre-punched in the bottom of the vent, so fastener positions do not have to be marked out on site. The vent is built with long lasting quality and durability.
The vent body also carries over-stuffed foam. In the installation, the foam expands until it completely fills the gap between the top of the rib and the SSV. The expanded foam is what closes that gap.
Testing and ventilation performance
The SSV passed TAS-100(A). That is the one named test result printed for the product.
The ventilation figure is 18 square inches of Net Free Area per linear foot. The figure applies to each linear foot of vent along the ridge. A ridge that is 10 feet long therefore carries 180 square inches of Net Free Area when the vent runs the full length.
The vent keeps moisture, insects and critters out of the opening while air moves through it. Marco Industries pairs the Net Free Area figure with the non-woven material, which does not deteriorate over time. Marco Industries adds that its ventilation line offers easy installation, lower utility costs and extended roof deck life.
Installation steps
Installation takes five steps, in this order.
- Snap a chalk line about one-eighth to one-sixteenth of an inch above the position where the ridge cap will be installed.
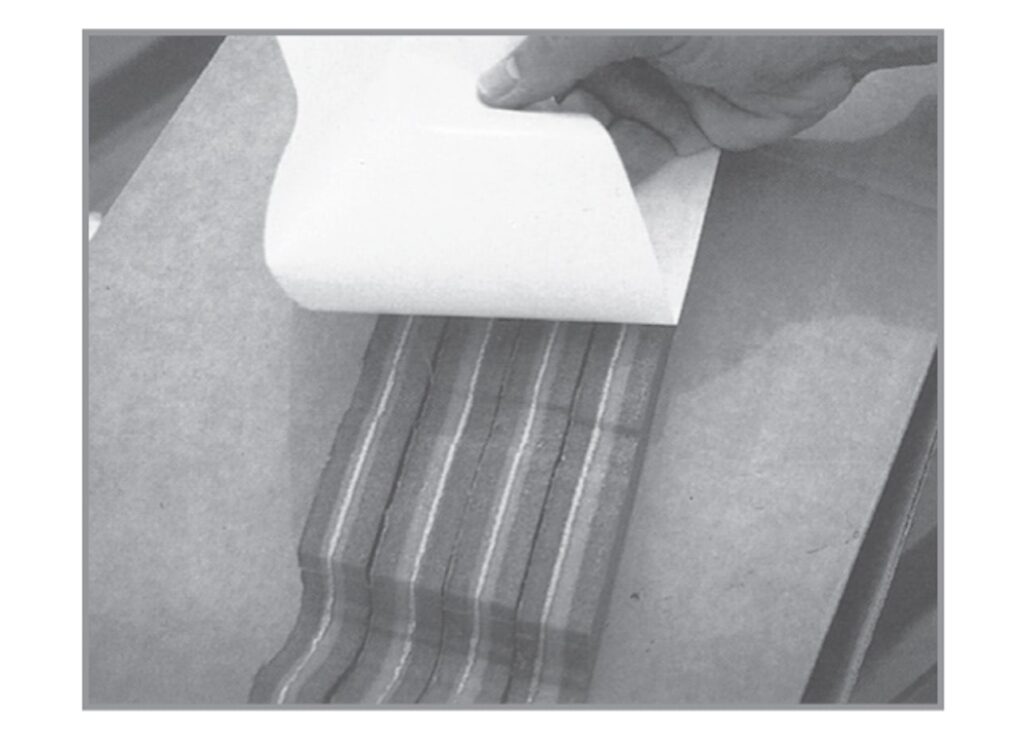
- Peel away the backing from the butyl tape. Allow the over-stuffed foam to expand so it completely fills the gap between the top of the rib and the SSV. Align the SSV along the chalk line.
- Secure the SSV using type 410 fasteners, with at least one-half inch of penetration into the decking. Space the fasteners no more than three inches apart.
- Apply sealant at the points where the SSV meets the panel ribs.
- Install the open hem ridge cap by locking both bottom sides over the top and side of the SSV. Secure and finish installing the ridge cap by following the steel manufacturer's installation instructions and detail.
Marco Industries publishes the installation online at marcoindustries.com. Photographs for each step show the chalk line, the peeled butyl tape, the fastener driver, the sealant gun and the ridge cap being locked into place.
Why the pre-applied parts matter
The pre-applied butyl tape makes installation quick and easy. The next SSV can be installed without missing a beat. The tape is already on the strip, so no separate tape is applied at each piece.
The fastener holes are already in the strip. Step 3 therefore starts with the holes in place, and the fasteners go in at spacing of no more than three inches apart. Type 410 fasteners are the type named for the work, and at least one-half inch of penetration into the decking is the depth.
The chalk line in step 1 sets the position. The line sits about one-eighth to one-sixteenth of an inch above the position where the ridge cap will be installed. The SSV is then aligned along that line in step 2.
Sealant goes only at the points where the SSV meets the panel ribs. The ridge cap then locks over the top and side of the vent.
What each size is for
The four heights are 1 inch, 1.5 inch, 1.75 inch and 2 inch. The vent comes in several sizes to fit different metal panels, so the height is chosen to match the panel the vent sits against. The rib on the panel and the SSV must close the gap at the top of the rib, and the over-stuffed foam expands to fill that gap.
The length is custom cut, which suits ridges of different lengths. Pre-cut lengths cover a variety of different metal panels. Every size keeps the same features: pre-applied butyl tape, pre-punched fastener holes and a strip of Weather-Tite non-woven material.
The ridge cap that covers the vent is an open hem ridge cap. Both bottom sides of the cap lock over the top and side of the SSV. The cap is secured following the steel manufacturer's installation instructions and detail.
The SSV is used where a metal roof needs ridge ventilation that keeps moisture, insects and critters out. Its rated figure is 18 square inches of Net Free Area per linear foot, and it passed TAS-100(A).