Alumi-Flash
- Manufacturer
- Portals Plus
- Product
- Alumi-Flash
- Status
- Current
- Market
- United States
- Last verified
- October 14, 2026
Overview
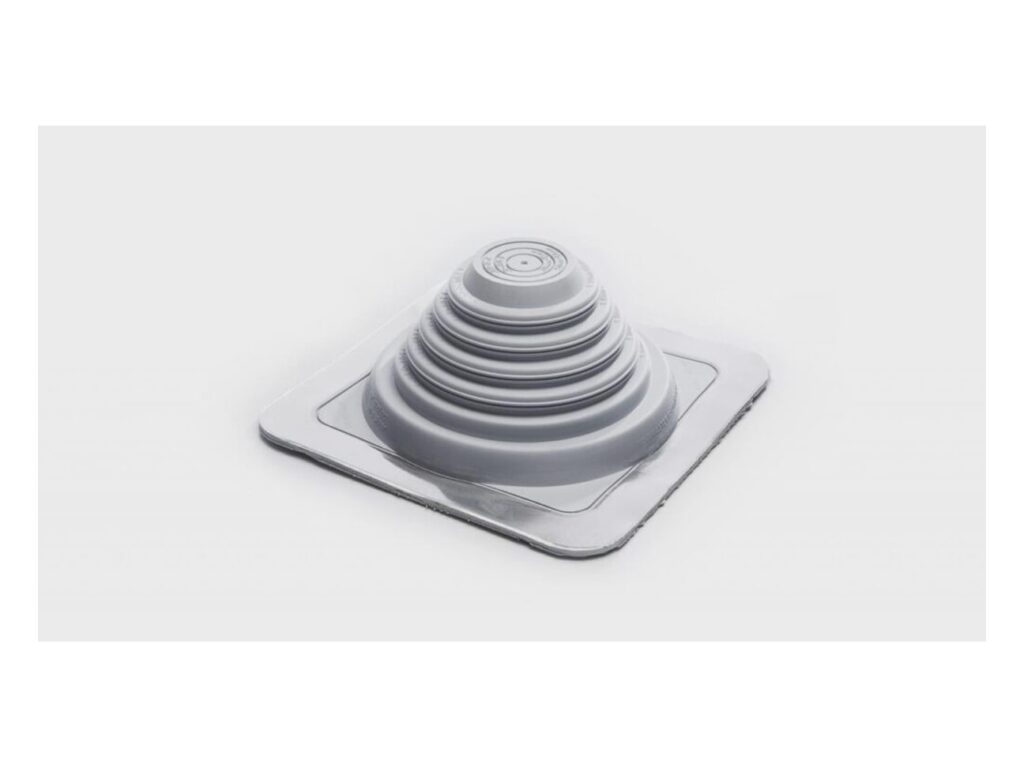
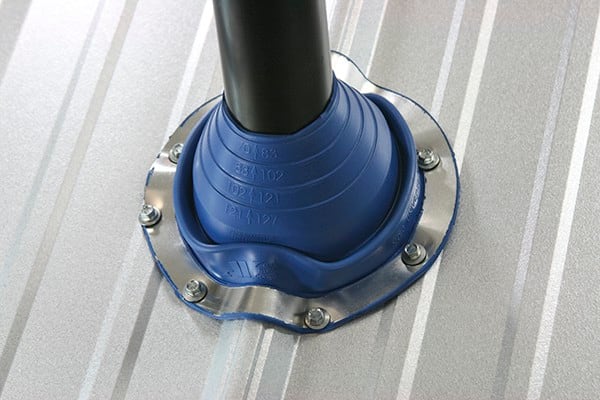
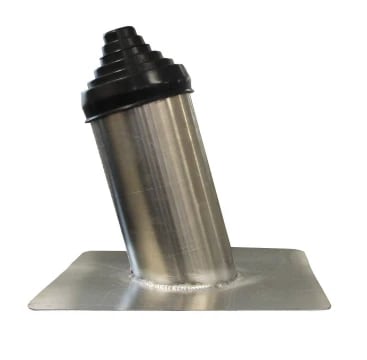
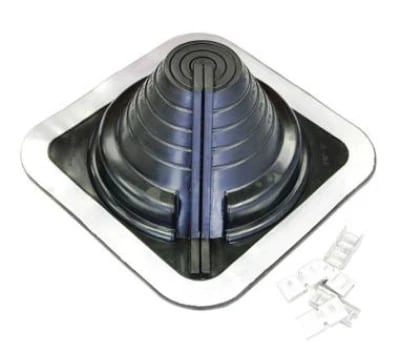
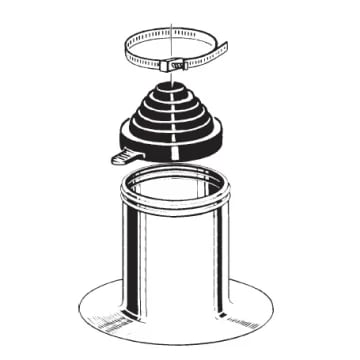
Alumi-Flash is a prefabricated penetration flashing from Portals Plus, built to seal the point where a pipe passes through a roof. A spun aluminum base sits on the roof surface and surrounds the penetration, and a molded EPDM cap slips down over the pipe and onto the collar of the base. A stainless steel Snaplock Clamp then tightens the cap around the pipe.
Every unit uses the same basic parts: a .060-inch spun aluminum base, a collared opening with two roll-formed beaded sealing rings along its top edge, a compression-molded EPDM cap and the Portals Plus stainless steel Snaplock Clamp supplied with each cap. The Extra Tall unit with the C-126 cap is manufactured in Bensenville, IL.
This page covers thirteen versions of the one product. They differ in the base size, which sets the height and the diameter of the flashing, and in the cap model, which sets how many pipes pass through it and what diameters those pipes can have. Flashings of this kind are one of the penetration details used to finish flat and low-slope roof systems, where the base is set into mastic or adhesive on the roof surface and stripped in with the roofing material.
Base sizes
Four base sizes are offered. All four are .060-inch spun aluminum, and the collared opening on each carries two roll-formed beaded sealing rings at the top edge.
- Standard: 4 in. high with a 14 in. base diameter and an 8 in. collared opening.
- Extra Wide: 4 in. high with an 18 in. base diameter and an 8 in. collared opening.
- Extra Tall: 13 in. high with a 14 in. base diameter and an 8 in. collared opening.
- Large: 4 in. high with a 22 in. base diameter and a 14 in. collared opening.
The Standard and Extra Wide bases share the same 4-in. height and differ only in diameter, 14 in. against 18 in. The Extra Tall base keeps the 14-in. diameter of the Standard and raises the height from 4 in. to 13 in. The Large base is the only one with the wider 14-in. collar, and it takes the larger pipes described below.
Data sheets and technical documents
Current files
Archived files
No older reviewed revisions are archived for this product yet.
Cap models and pipe sizes
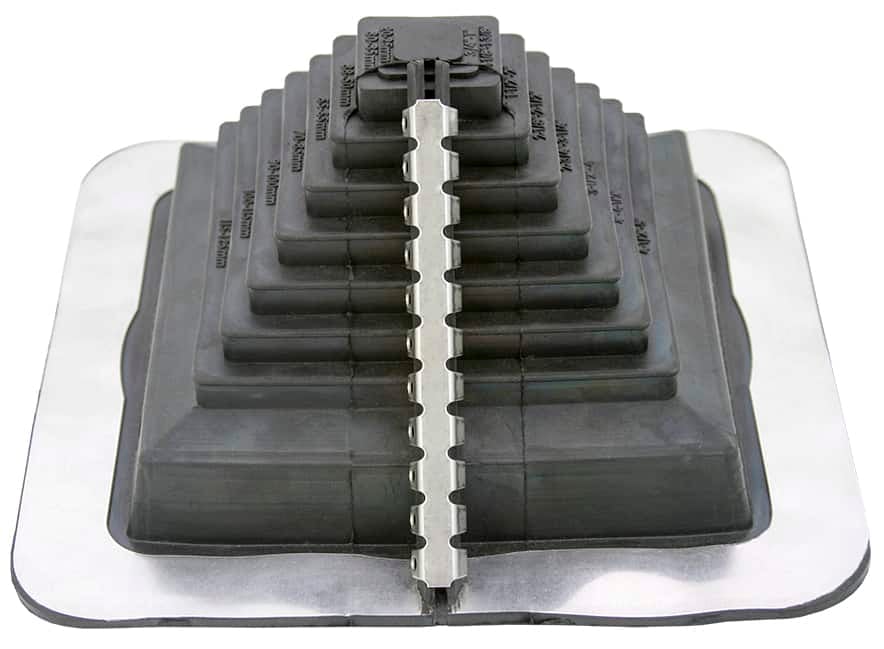
The cap decides what the flashing seals. Each cap is a compression-molded EPDM (Ethylene Propylene Diene Monomer) cap with stepped conical nipples, and the figures below are the inside diameters of those nipples.
- C-126: one pipe from 2 in. to 6 in. in diameter. Nipple inside diameters run 2.35 in. to 3.00 in., 3.40 in. to 4.20 in., 4.40 in. to 4.60 in., 5.50 in. to 5.60 in. and 6.50 in. to 6.65 in.
- C-212: up to two pipes of .375 in. to 1 in. and up to two pipes of 1 in. to 2 in. in diameter. The nipples cover 0.65 in. to 0.90 in., 0.97 in. to 1.10 in. and 1.275 in. to 1.375 in. for the smaller pipes, and 1.30 in. to 1.70 in., 1.80 in. to 2.00 in. and 2.25 in. to 2.40 in. for the larger ones.
- C-412: up to four pipes of 1 in. to 2 in. in diameter, with nipples of 1.30 in. to 1.70 in., 1.80 in. to 2.00 in. and 2.25 in. to 2.40 in.
- C-481: up to four pipes of .375 in. to 1 in. in diameter, with nipples of 0.65 in. to 0.90 in., 0.97 in. to 1.10 in. and 1.275 in. to 1.375 in.
- C-182: one pipe of 8 in. to 12 in. in diameter, with nipples of 8.062 in. to 8.625 in., 10.062 in. to 10.750 in. and 12.062 in. to 12.750 in.
The C-126, C-212, C-412 and C-481 caps fit the 8-in. collar of the Standard, Extra Wide and Extra Tall bases. The C-182 cap fits the 14-in. collar of the Large base.
Versions and part numbers
The thirteen versions combine a base size with a cap model. Cartons hold 5 units for the Standard and Extra Wide versions and 4 units for the Extra Tall versions. The Large version is packed 1 to a carton.
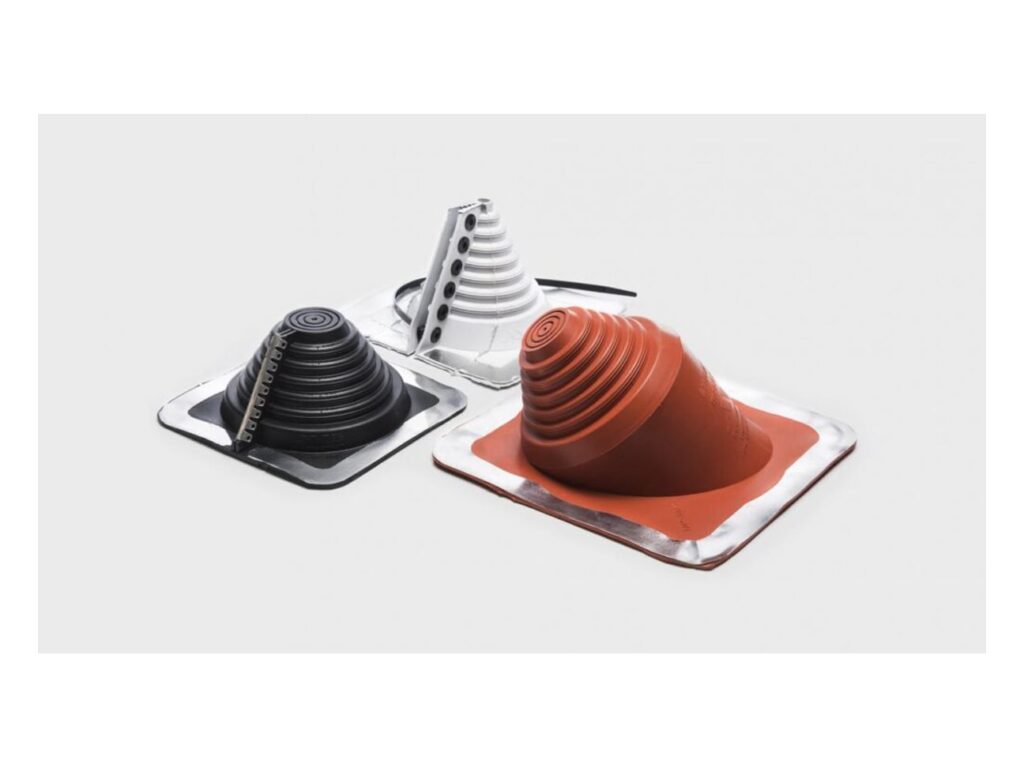
- Extra Tall with C-126 cap: part 24015, black cap, 4 per carton.
- Extra Tall with C-212 cap: part 24025 with a black cap and part 24065 with a white cap, 4 per carton.
- Extra Tall with C-412 cap: part 24035, black cap, 4 per carton.
- Extra Tall with C-481 cap: part 24045, black cap, 4 per carton.
- Extra Wide with C-126 cap: part 23015, black cap, 5 per carton.
- Extra Wide with C-212 cap: part 23025 with a black cap and part 23065 with a white cap, 5 per carton.
- Extra Wide with C-412 cap: part 23035, black cap, 5 per carton.
- Extra Wide with C-481 cap: part 23045, black cap, 5 per carton.
- Standard with C-126 cap: part 22015, black cap, 5 per carton.
- Standard with C-212 cap: part 22025 with a black cap and part 22075 with a white cap, 5 per carton.
- Standard with C-412 cap: part 22035, black cap, 5 per carton.
- Standard with C-481 cap: part 22045, black cap, 5 per carton.
- Large with C-182 cap: part 22051, black cap, 1 per carton.
The C-212 cap is the only one listed with a white option, and it is offered in white on the Standard, Extra Wide and Extra Tall bases.
Materials and sealing details
The base is spun from .060-inch aluminum. The collared opening has two beaded sealing rings roll-formed into its top edge, and the cap seats on that collar. The cap is EPDM, a synthetic rubber, molded by compression.
Each cap comes with a Portals Plus stainless steel Snaplock Clamp. The clamp band goes around the pipe and the rubber cap and closes with a screw.
Multi-pipe caps follow the same pattern as the single-pipe caps. The C-212 handles a mix of small and larger pipes on one base, while the C-412 and C-481 each handle up to four pipes in a single size range, 1 in. to 2 in. for the C-412 and .375 in. to 1 in. for the C-481.
Installation sequence
Attachment and installation follow the Portals Plus instructions together with the recommendations of the roofing membrane manufacturer. The Portals Plus sheet numbers eight steps:
- Scrape back the gravel and prepare the surface 15 in. in all directions from the penetration.
- Clean and prime the flange in accordance with the roof manufacturer's recommendations. Spread mastic or adhesive over the cleared area and place the base over the pipe.
- Select the proper step of the rubber cap and cut it off above the index ring. When in doubt, cut the smaller size.
- Slip the cap down over the pipe and onto the collar. Press around the edge to be sure the cap is properly sealed.
- Place the clamp around the pipe and the rubber cap and tighten the screw.
- Apply mastic or adhesive over the top flange and the cleared area of the roof.
- Strip in with roofing material.
- Cover with ballast material.
The cap is cut at one of its stepped nipples, so the choice of step decides the opening that closes around the pipe. The index ring marks where the cut is made.