One Gravel Stop
- Manufacturer
- Metal-Era
- Product
- One Gravel Stop
- Status
- Current
- Market
- United States
- Latest file date
- January 23, 2024
- Last verified
- October 14, 2026
Overview
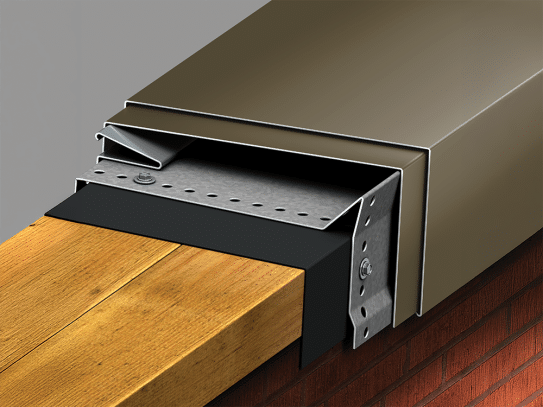
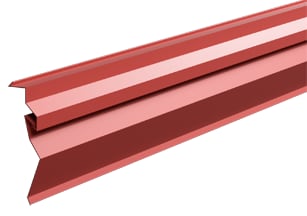
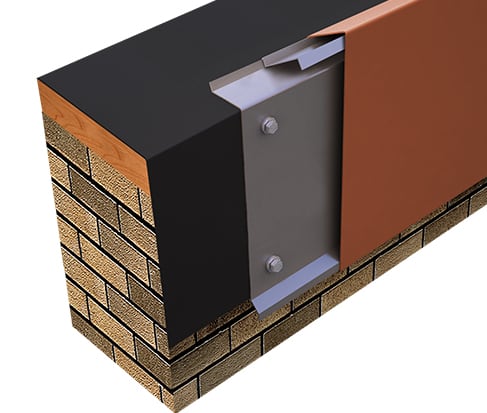
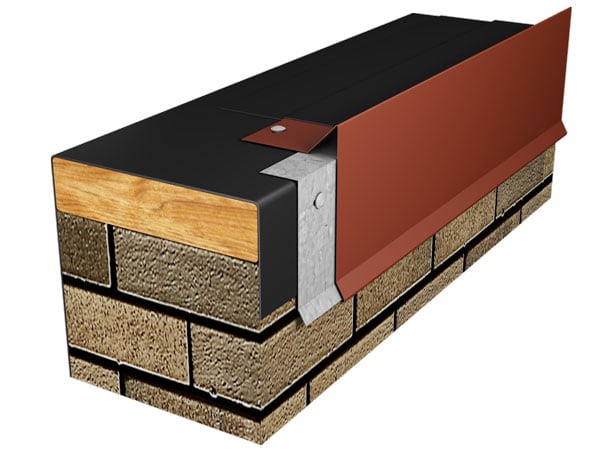
One Gravel Stop is a gravel stop and drip edge from Metal-Era's Edge Systems One family, a roof edge fascia that finishes the perimeter of a roof membrane. Straight lengths are 12 feet long and arrive with pre-punched, slotted fastening holes, and miters and drainage accessories are fabricated at the factory so that none has to be made in the field.
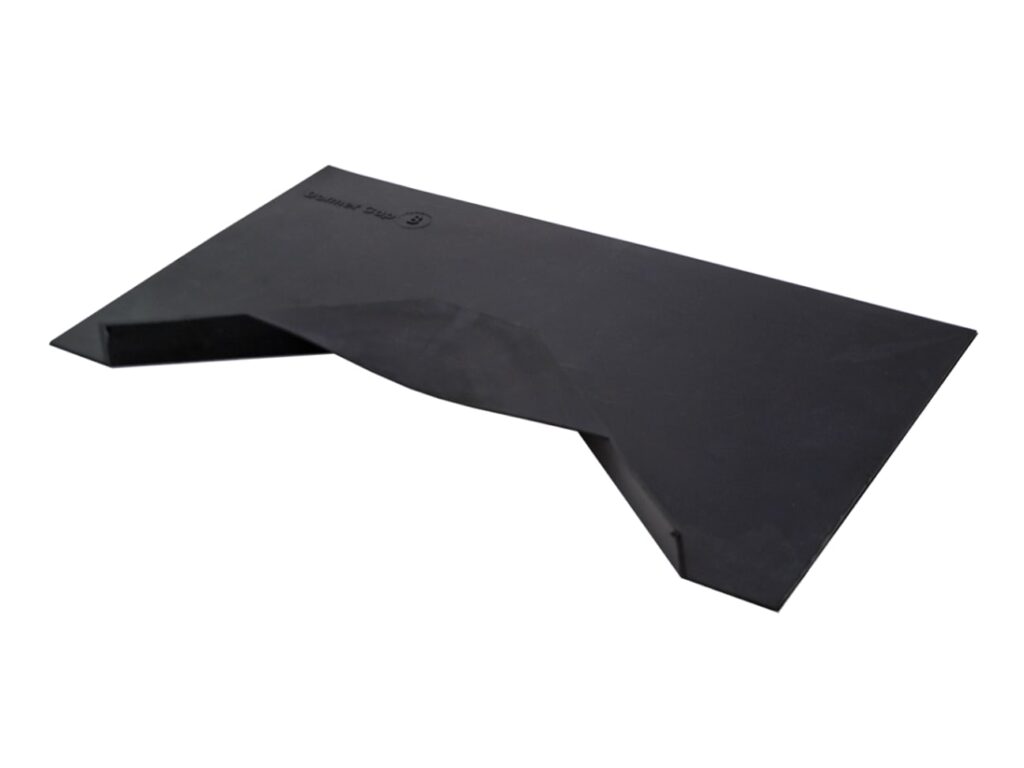
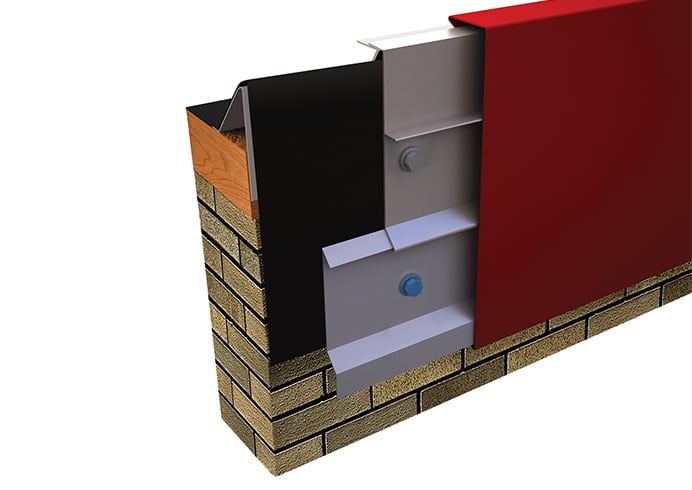
The fascia cover is joined with interlocking, concealed splice plates rather than traditional cover plates or lap joints at the seams. The plates sit under the cover, which stops them from migrating under the fascia panels and leaves the space needed for thermal movement of the fascia material.
This page covers the One Gravel Stop product line in its versions with a continuous cleat and without one, together with the arched version. One Gravel Stop is one of the perimeter metal components used to finish low-slope roof systems, where the membrane is carried to the roof edge and the gravel stop caps that termination.
Versions and how they differ
One Gravel Stop is made in three forms, each with its own print approval and its own installation instructions.
- With continuous cleat: the cover hooks onto a 22-gauge galvanized continuous cleat supplied in 12-foot lengths. The cleat and the cover are both fastened with the nails provided.
- Without continuous cleat: each cover section is fastened directly through its holes with the nails provided, and sections are lapped 1 in. at each joint.
- Arched: a radius version for curved roof edges, supplied in 4-foot sections and joined with 4-in.-wide cover plates.
Miters are available for each form. A separate print approval covers non-90 degree miters, and the Edge Systems One line also includes fascia extenders in lap joint and splice plate versions, with and without offset.
Data sheets and technical documents
Current files
Archived files
No older reviewed revisions are archived for this product yet.
Sizes and dimensions
The standard sizes run across these ranges:
- Face height: 3 in. minimum, 10 in. maximum.
- Flange: 1 in. minimum, 4 in. maximum.
On the version with the continuous cleat, the print approval treats two ranges of face height separately. A face height of 6 in. or less has slotted fastening holes 12 in. on center in the face and slotted holes 6 in. on center in the flange. A face height over 6 in. and up to 10 in. has the same hole spacing and a continuous cleat with a 1 1/2-in. leg at the bottom. In both ranges the rise is 1/2 in. minimum, the tested flange size is a maximum of 4 in., the tested rise is a maximum of 1 in., and the dimensions are written on the print approval as face height (H), flange size (X) and rise (R).
Lineal footage is ordered in 12-foot lengths, with inside and outside 90 degree miters ordered as separate quantities.
Cover materials and finishes
Covers are manufactured in these materials:
- 24-gauge galvanized steel
- 22-gauge galvanized steel
- .040-in. aluminum
- .050-in. aluminum
- .063-in. aluminum
The version without a continuous cleat is listed in 24-gauge galvanized steel and .040-in. aluminum on its print approval. A mill finish is also available.
Ten express colors are offered: Dark Bronze, Bone White, Cityscape, Almond, Clear Anodized, Medium Bronze, Sandstone, Sierra Tan, Slate Gray and Stone White.
For One Gravel Stop, coil-coated standard colors carry a 30-year Kynar 500 finish warranty. On One Gravel Stop, custom post-coated Kynar 500 colors include a 10-year Kynar 500 finish warranty, and a 20-year warranty is available on request. Anodized finishes carry a 5-year warranty; no warranty is available for coil anodized finishing, and post-coat Class 1 batch anodized finishing has a 5-year warranty that can be raised to 10 years for an upcharge.
Testing and approvals
One Gravel Stop is tested to ANSI/SPRI/FM 4435/ES-1, the roof-edge standard that applies under the International Building Code. The print approval for the version with the continuous cleat gives an ANSI/SPRI/FM 4435/ES-1 test pressure of up to 258 psf.
The product is Factory Mutual approved for wind uplift protection. It also holds Miami-Dade approval 23-0912.08 (12/11/28) for the High Velocity Hurricane Zone of the Florida Building Code.
For One Gravel Stop, a 10-year, 90 MPH wind warranty is available on orders that call for it. On One Gravel Stop, the warranty provides a maximum of 10 years and 90 MPH of coverage for repair or replacement of any portion of the roof edge system that has failed because of a defect in Metal-Era supplied materials.
Splice plates, cleats and fasteners
All splice plates are included with the product, along with 22-gauge galvanized continuous cleats with slotted holes on the version that uses a cleat. The plates are concealed, and on the cleat version they must be field caulked to prevent water entry, with high grade architectural sealant supplied by others.
Fastening holes are slotted. The slots allow the material to move with temperature change and set the correct fastener spacing, and the holes are pre-punched so that no layout is needed.
The nails provided are 1 1/4-in. ring shank roofing nails. On the print approval for the cleat version, the substrate is marked as wood, masonry or metal, and if no substrate is given, wood fasteners are provided.
Miters and accessories
Factory-fabricated miters, scuppers and drainage accessories are available, so field fabrication is not needed. Unless otherwise noted, miters and accessories are made with a non-penetrating quicklock joint and then factory sealed watertight. The quicklock joint is the default; welded miters and accessories are a surcharge item and require a minimum material thickness of .050 in.
Radius and specially fabricated products are made for the particular needs of a project. Non-90 degree miters are ordered from a separate print approval, with a non-90 degree angle measurement worksheet provided for the measurements.
The arched version takes its radius from either a known radius or from field condition measurements. For field measurement, a 36-in. straight edge is held against the roof line, the rise is measured at the 18-in. midpoint, and measurements are checked along the entire radius.
Installation with the continuous cleat
The instructions begin with the note to install miters first and run in five steps.
- Install the gravel stop miters first. One splice plate goes under each end of the miter, with high grade architectural sealant (by others) applied to the top of each splice, and the plates are fastened with the provided 1 1/4-in. ring shank roofing nails.
- Position the 12-foot continuous cleat sections under the splice plate and miter, then fasten them 12 in. on center with the provided nails. The continuous cleat laps 1 in. at joints.
- Insert one splice plate under the left end of the 12-foot gravel stop section, with sealant applied to the top of each splice.
- Install the 12-foot gravel stop sections. The drip edge of each section hooks onto the continuous cleat, rotates into place, and is fastened 6 in. on center with the provided nails.
- Continue by installing gravel stop sections with a 3/8-in. space between sections, cutting in the field as necessary.
Protective film is removed immediately after installation, and protective eyewear is worn to prevent injury.
Installation without the cleat and arched installation
The version without a continuous cleat also starts with miters. Each section is positioned and fastened through the holes provided, 6 in. on center, with the provided nails, and sealant (by others) is applied in the field. Further sections are installed lapping each section 1 in., and field cutting is done with a fine tooth hacksaw.
The arched version has four steps. Step 1 positions and fastens each 4-foot gravel stop section 6 in. on center with the provided nails, leaving a 3/8-in. gap between sections. Step 2 applies sealant (by others) on top of each gravel stop. Step 3 locates and fastens the 4-in.-wide cover plates at each joint. Step 4 continues with 4-foot sections, allowing a 3/8-in. space between sections before the cover plate goes on, with field cutting as necessary.